5 Steps to Make an Easy DIY Bunny or Cat Castle

Bunnies and cats may be different in some ways, but they both LOVE boxes. I’m sure most of you can agree that giving your furry friend a box is fun for both of you (don’t tell me you don’t love watching them play in it), and the best part is that it’s free!
But what about when you really want to spoil your companion and get them something bigger to play in? Buying a cardboard castle can get pricey, so why not make your own with the boxes you already have lying around?
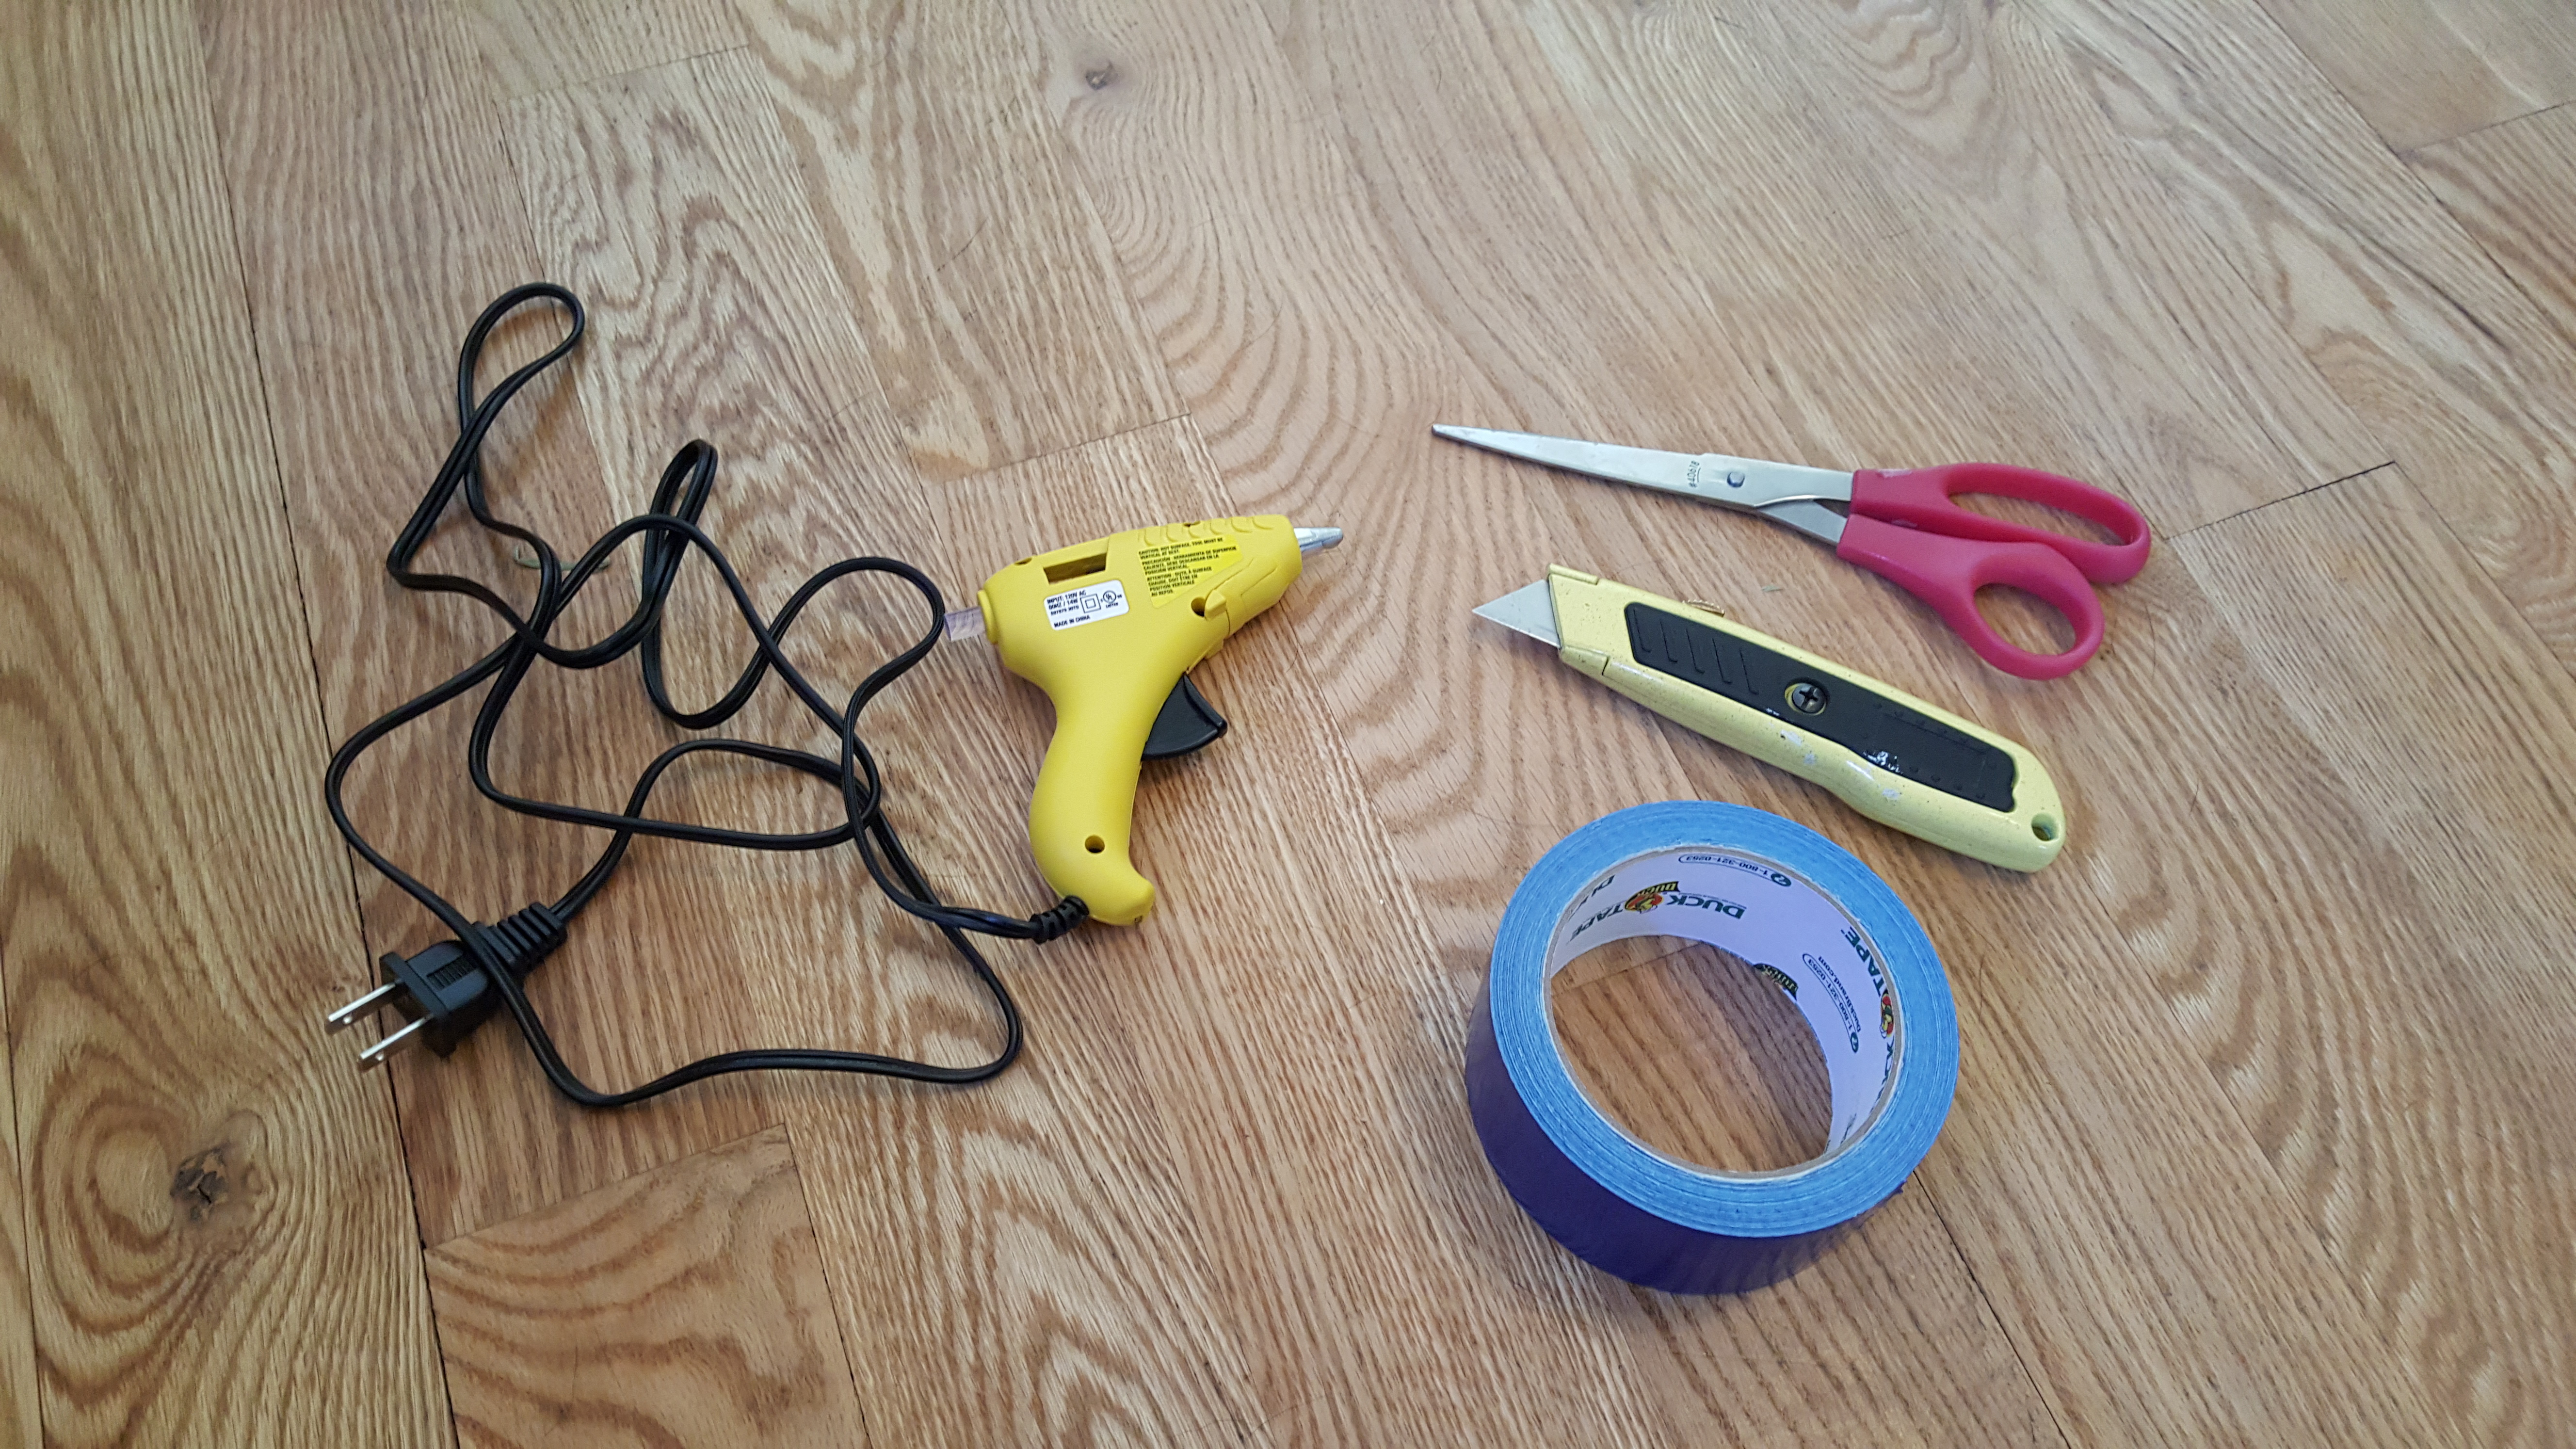
What you’ll need:
- A bunch of cardboard boxes (different sizes are best so you can stack and connect the boxes into a variety of room sizes)
- Box cutter or scissors
- Hot glue gun
- Duct tape (optional)
Step 1:
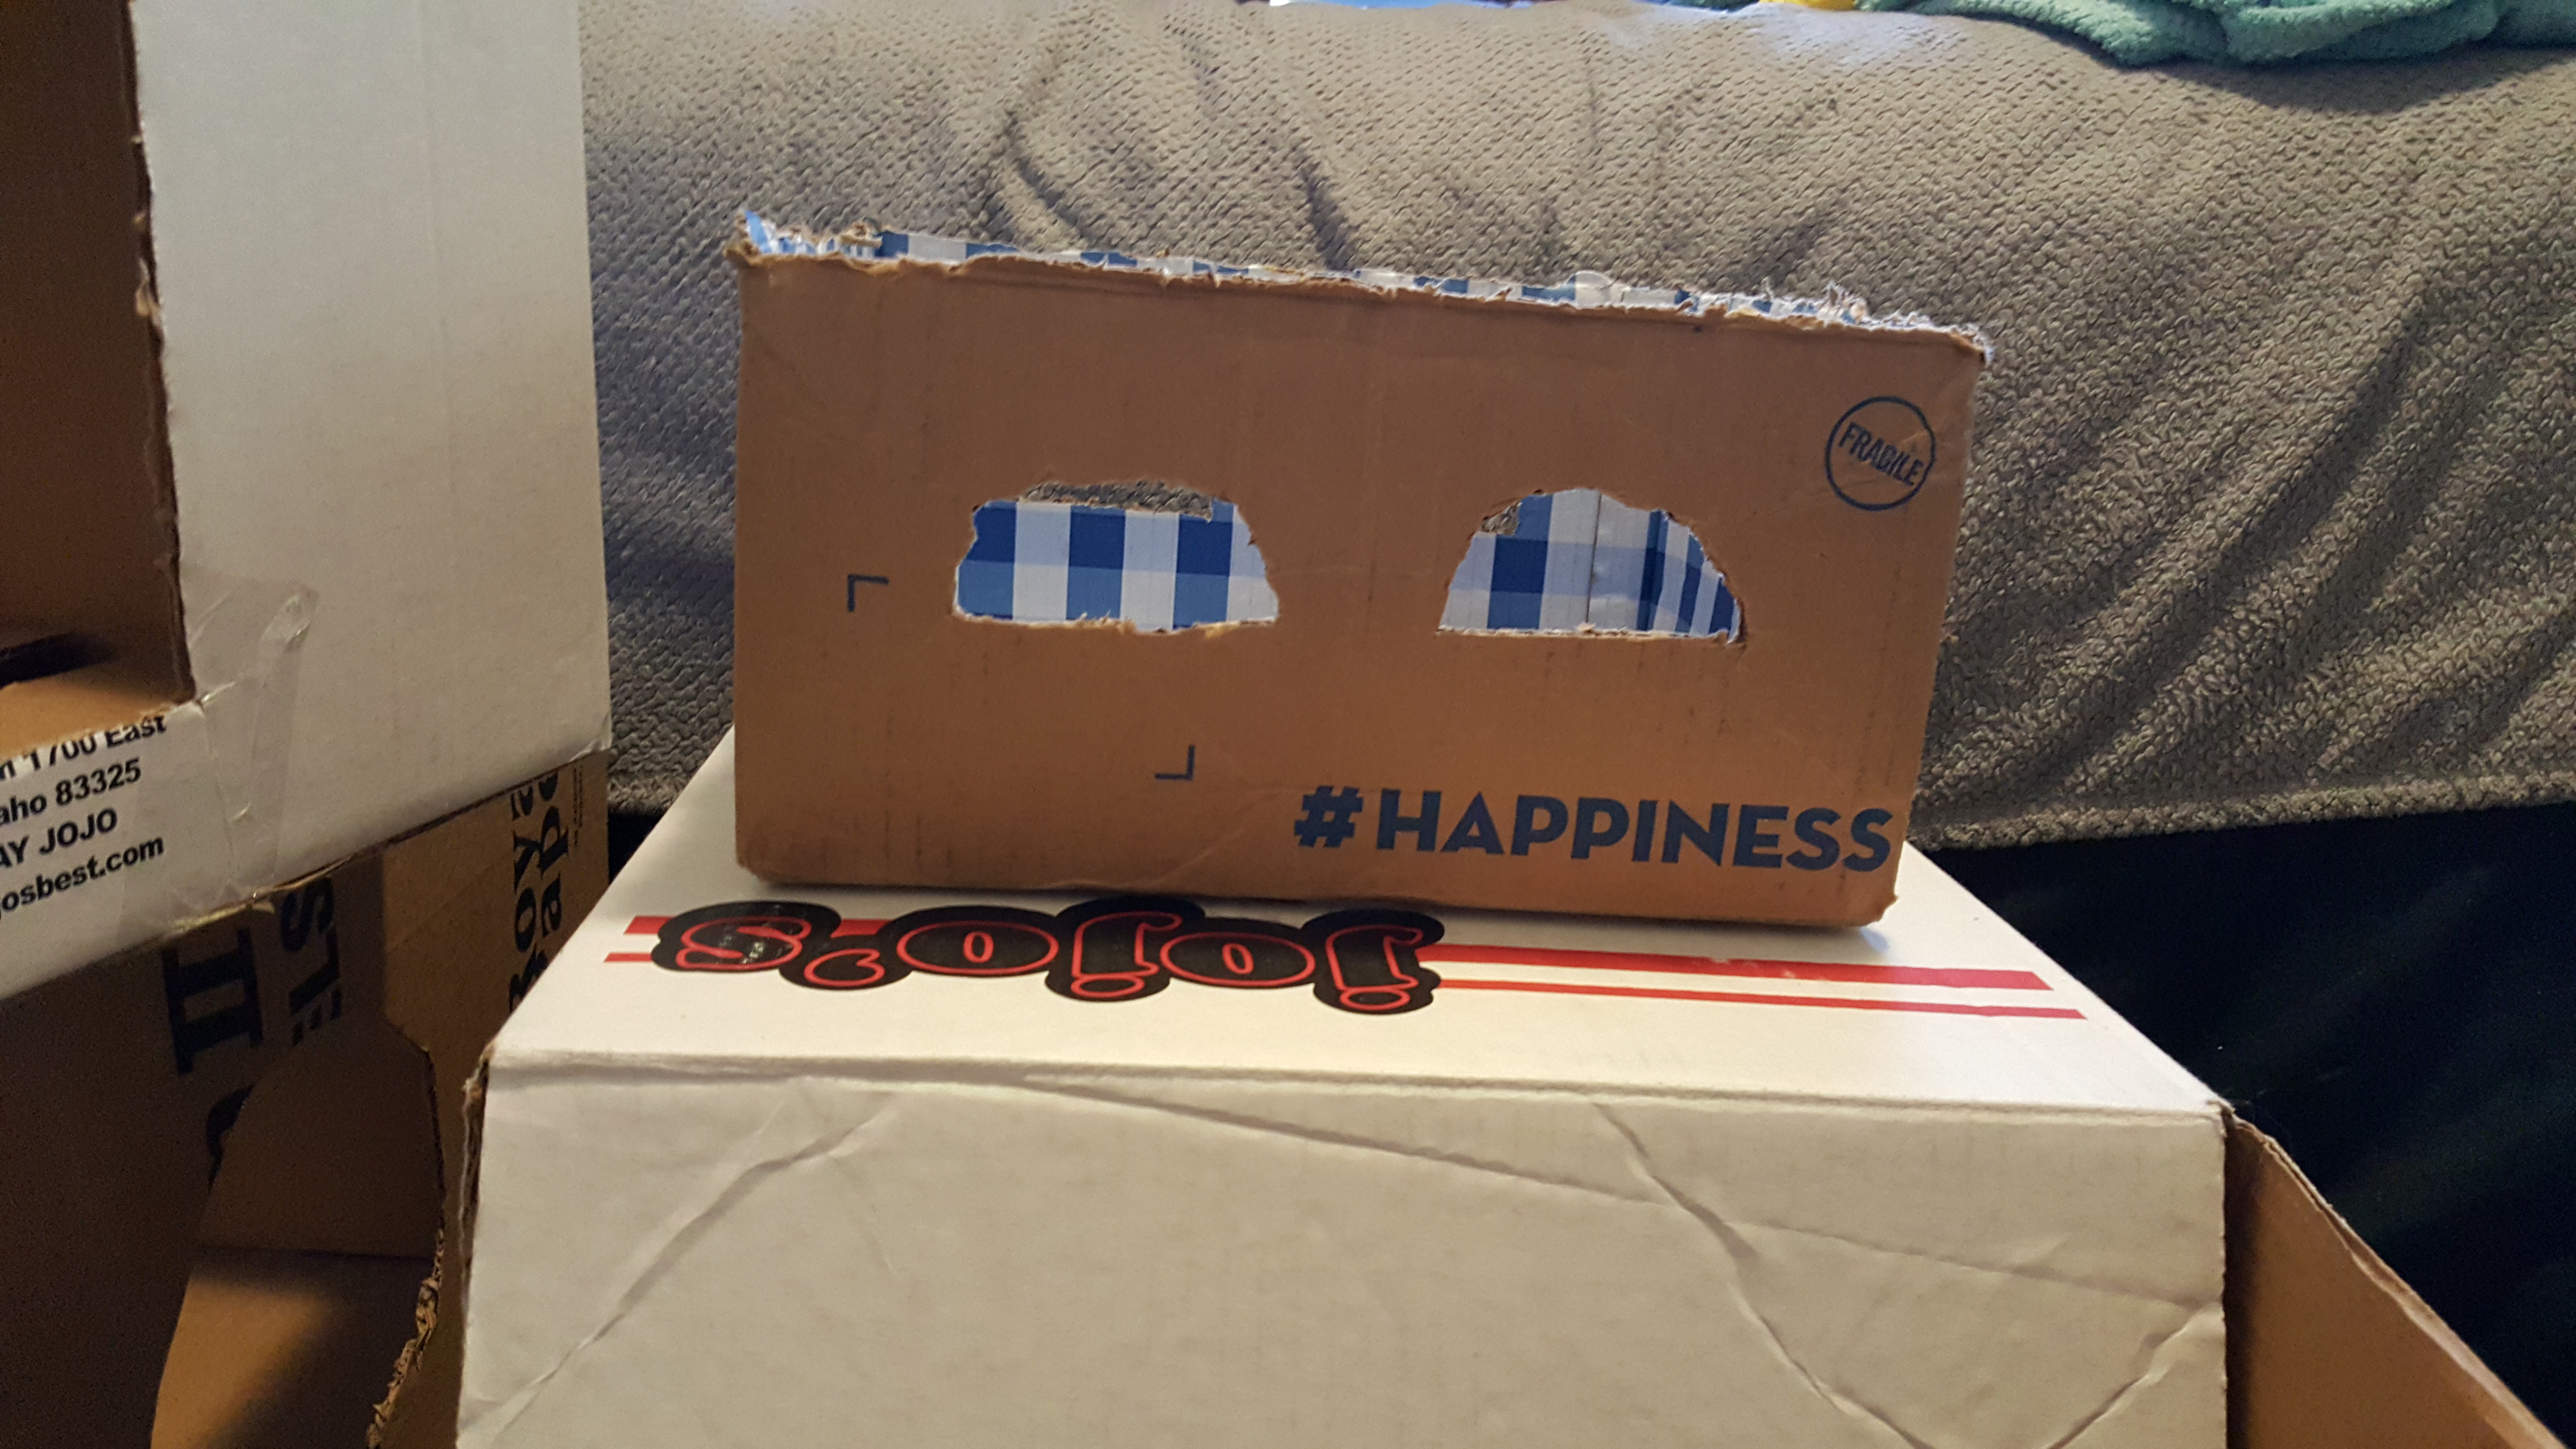
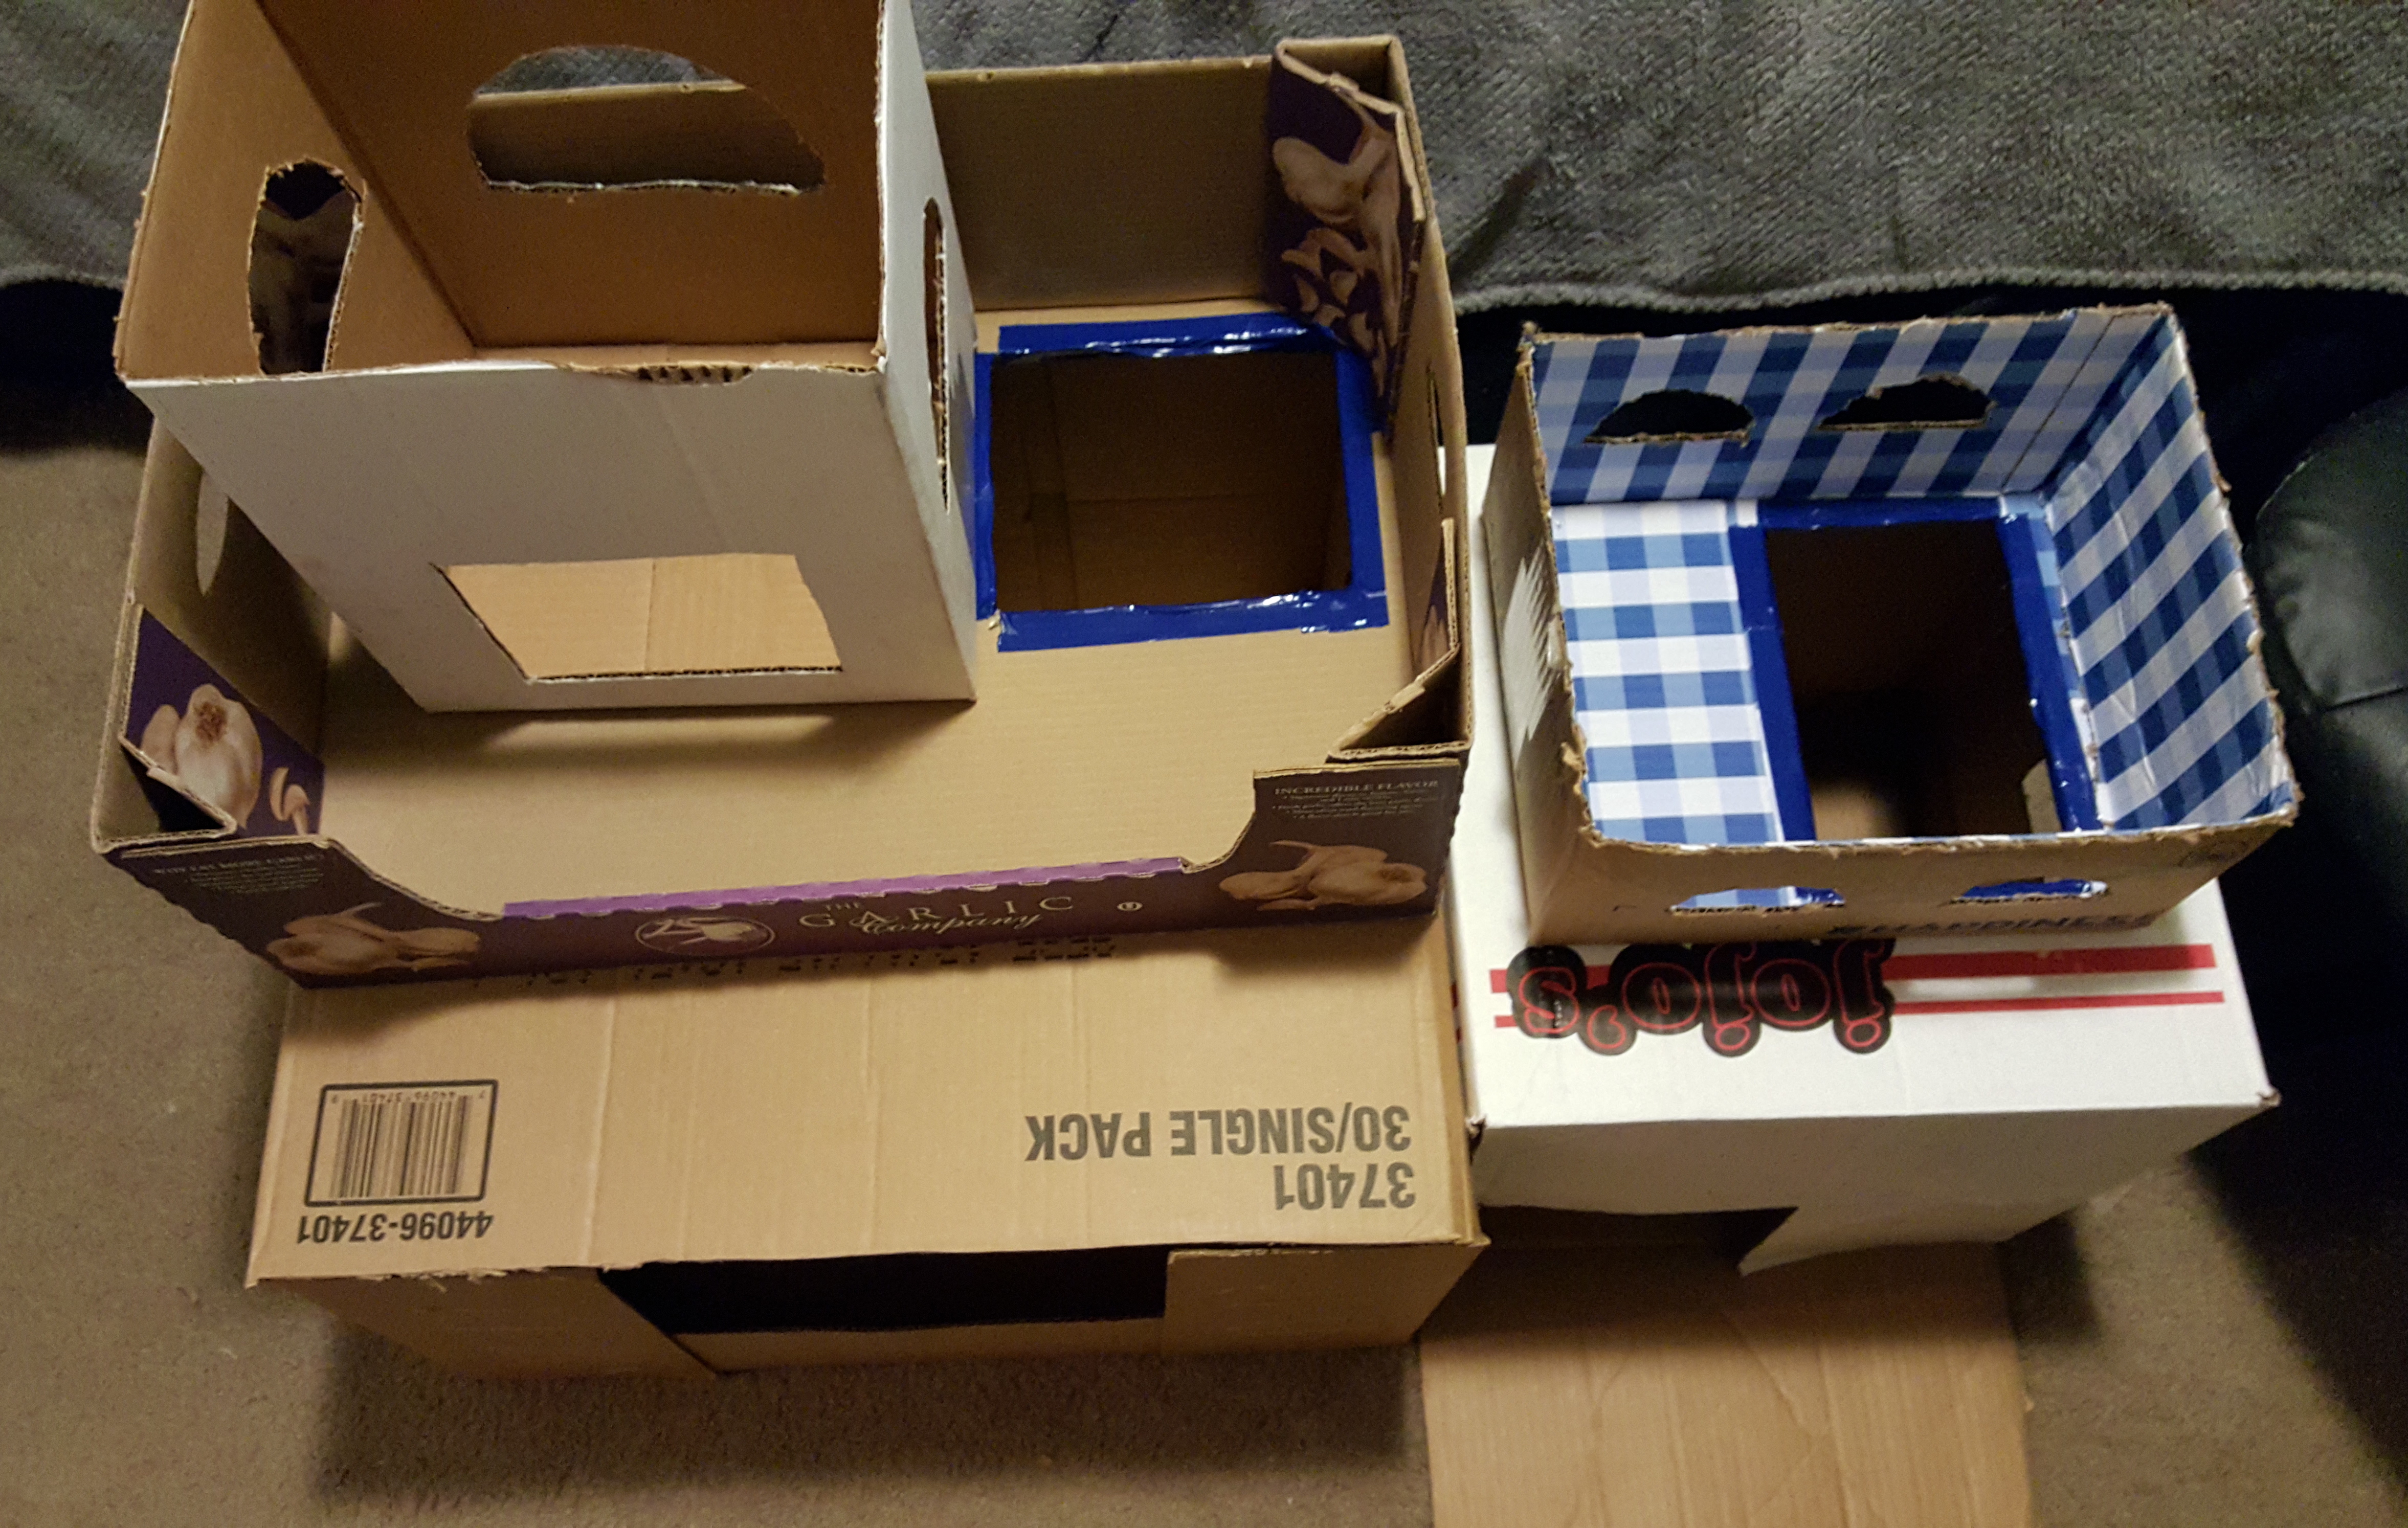
Stack and line up the boxes in the shape you want for the final castle so you can get an idea of where to cut holes to link the boxes. Maggie the cat and Mochi the bunny supervised the construction.
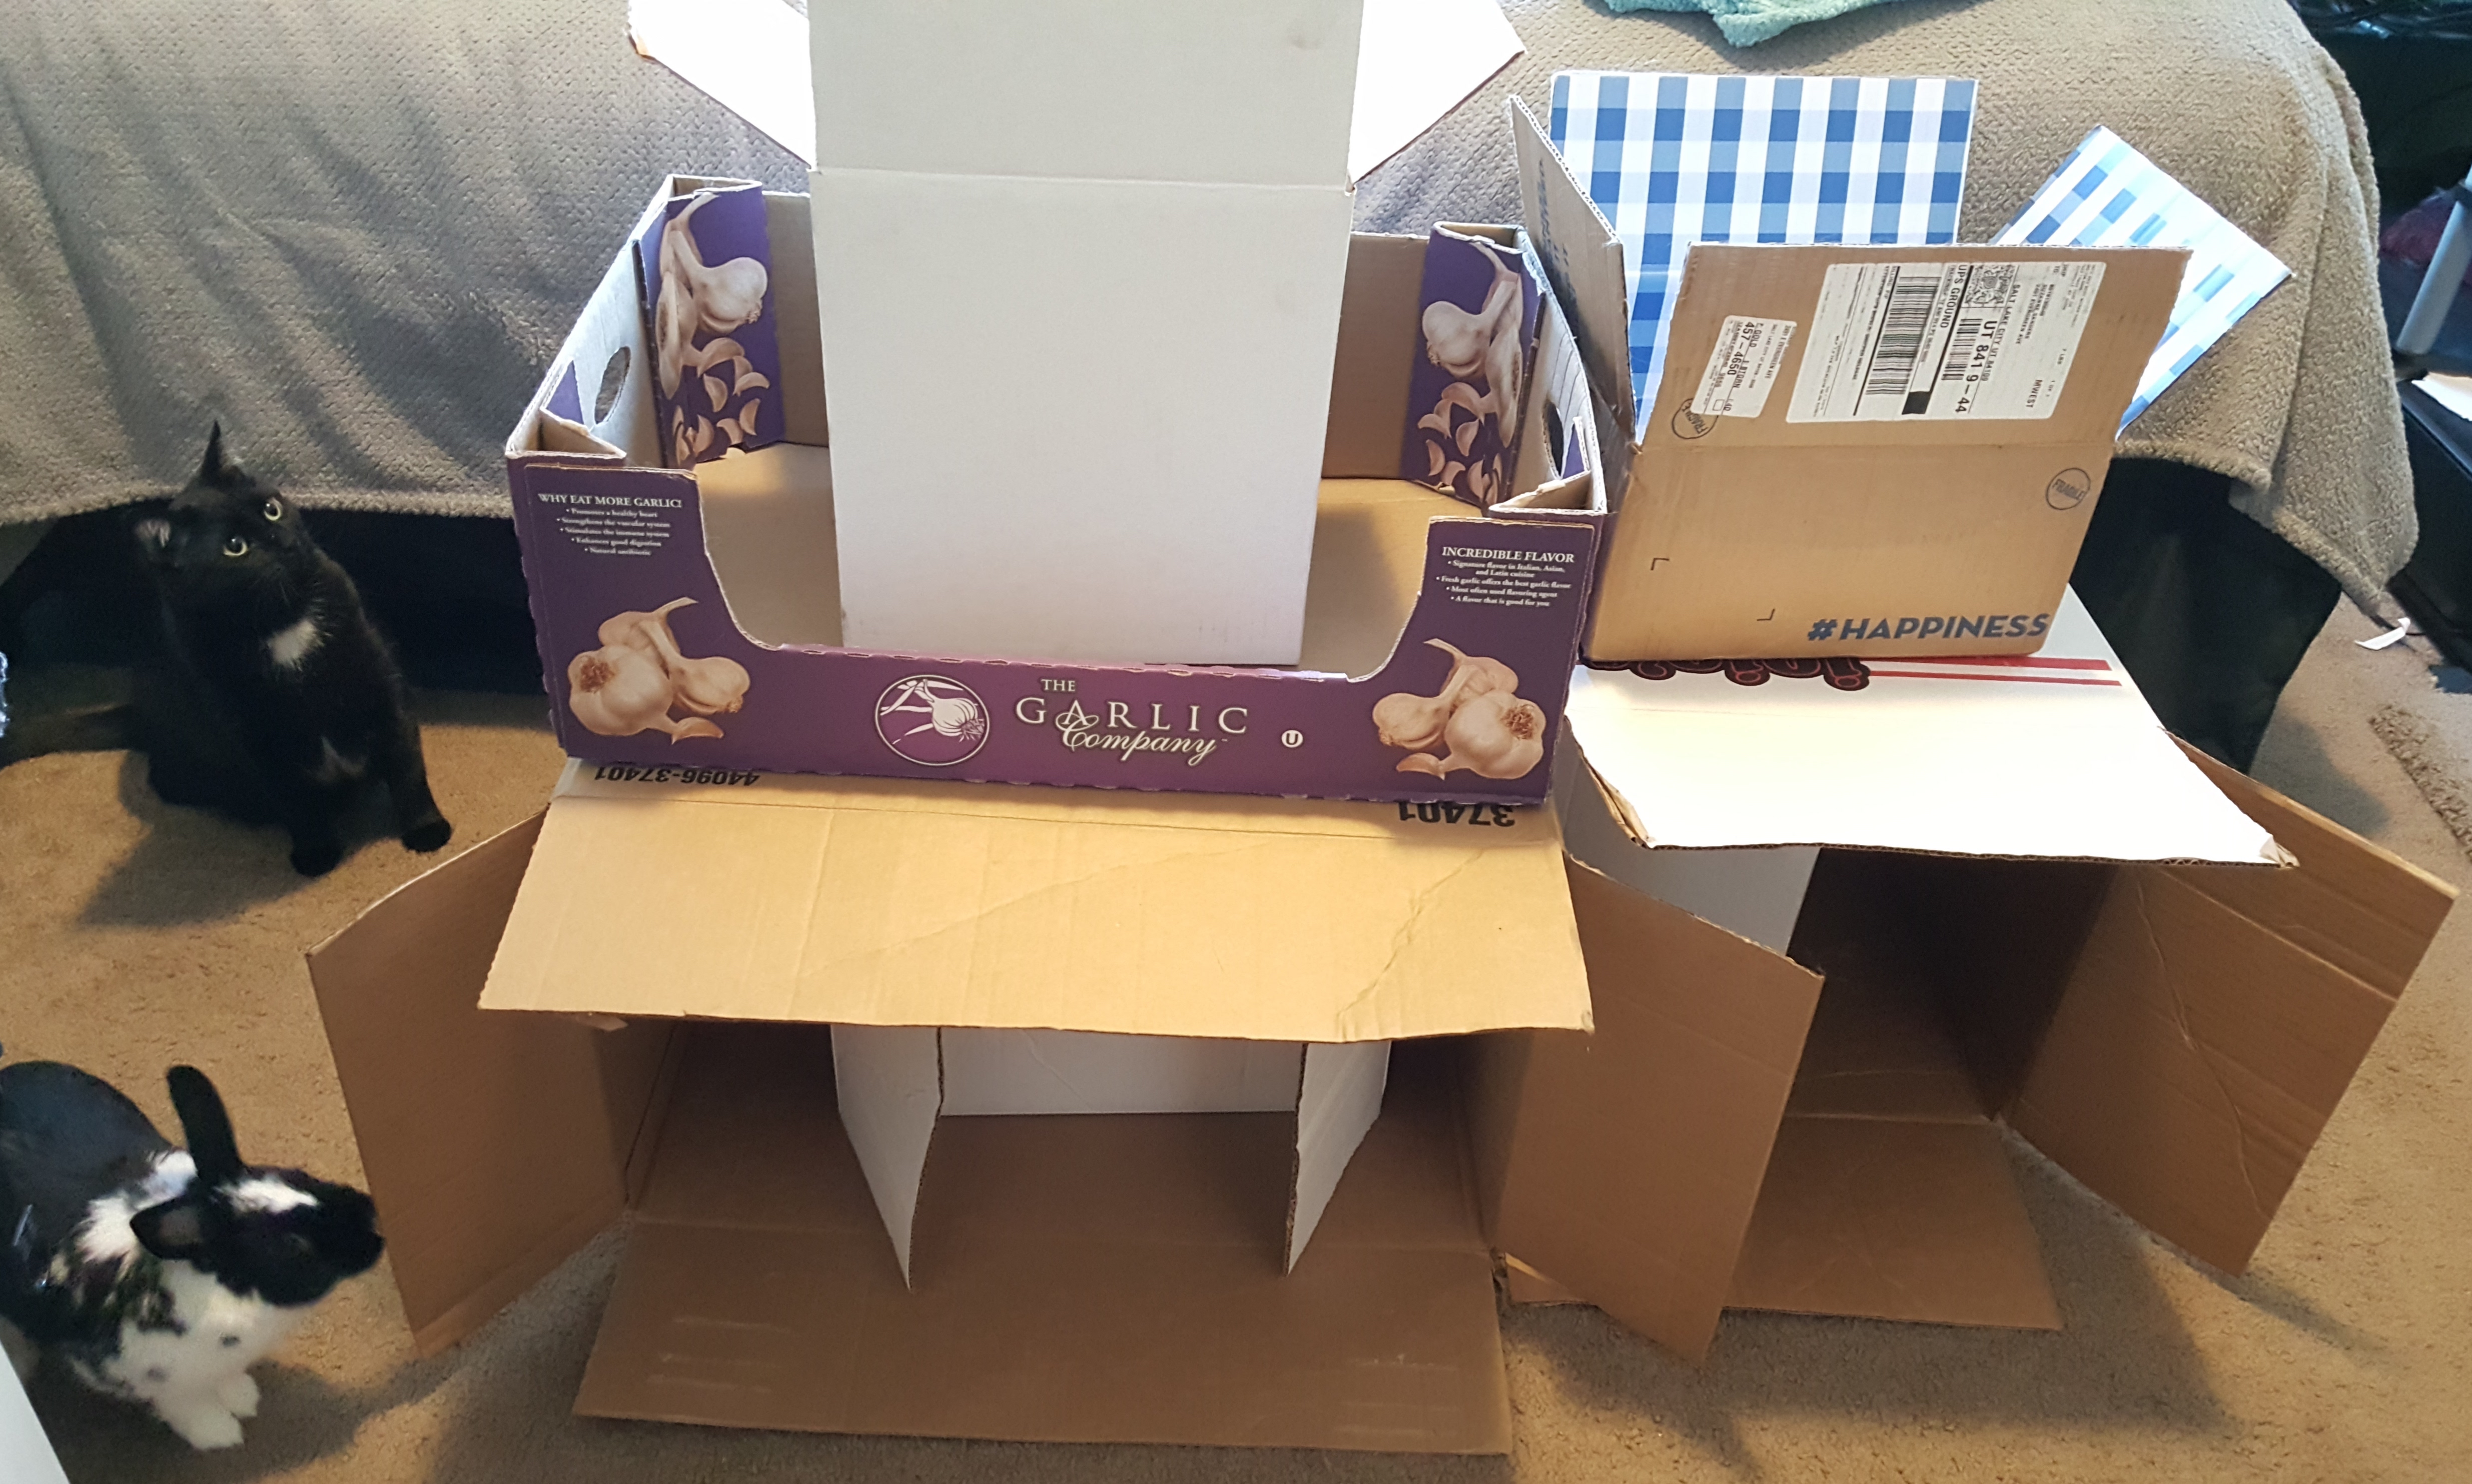
You’ll see that I put a smaller box inside of the biggest box – I did this because the smaller box was sturdier and helped the bigger box stay upright and hold its shape under my cat’s and bunny’s weight. It’s important to test the sturdiness of each box so the whole thing doesn’t crumble when your cat or bunny jumps on it!
Step 2:
Start cutting! Use your box cutter or scissors to cut off the box flaps you don’t want and cut holes where you want to open and connect the boxes. If you’re stacking, cut a hole in the top box to match the lower box.
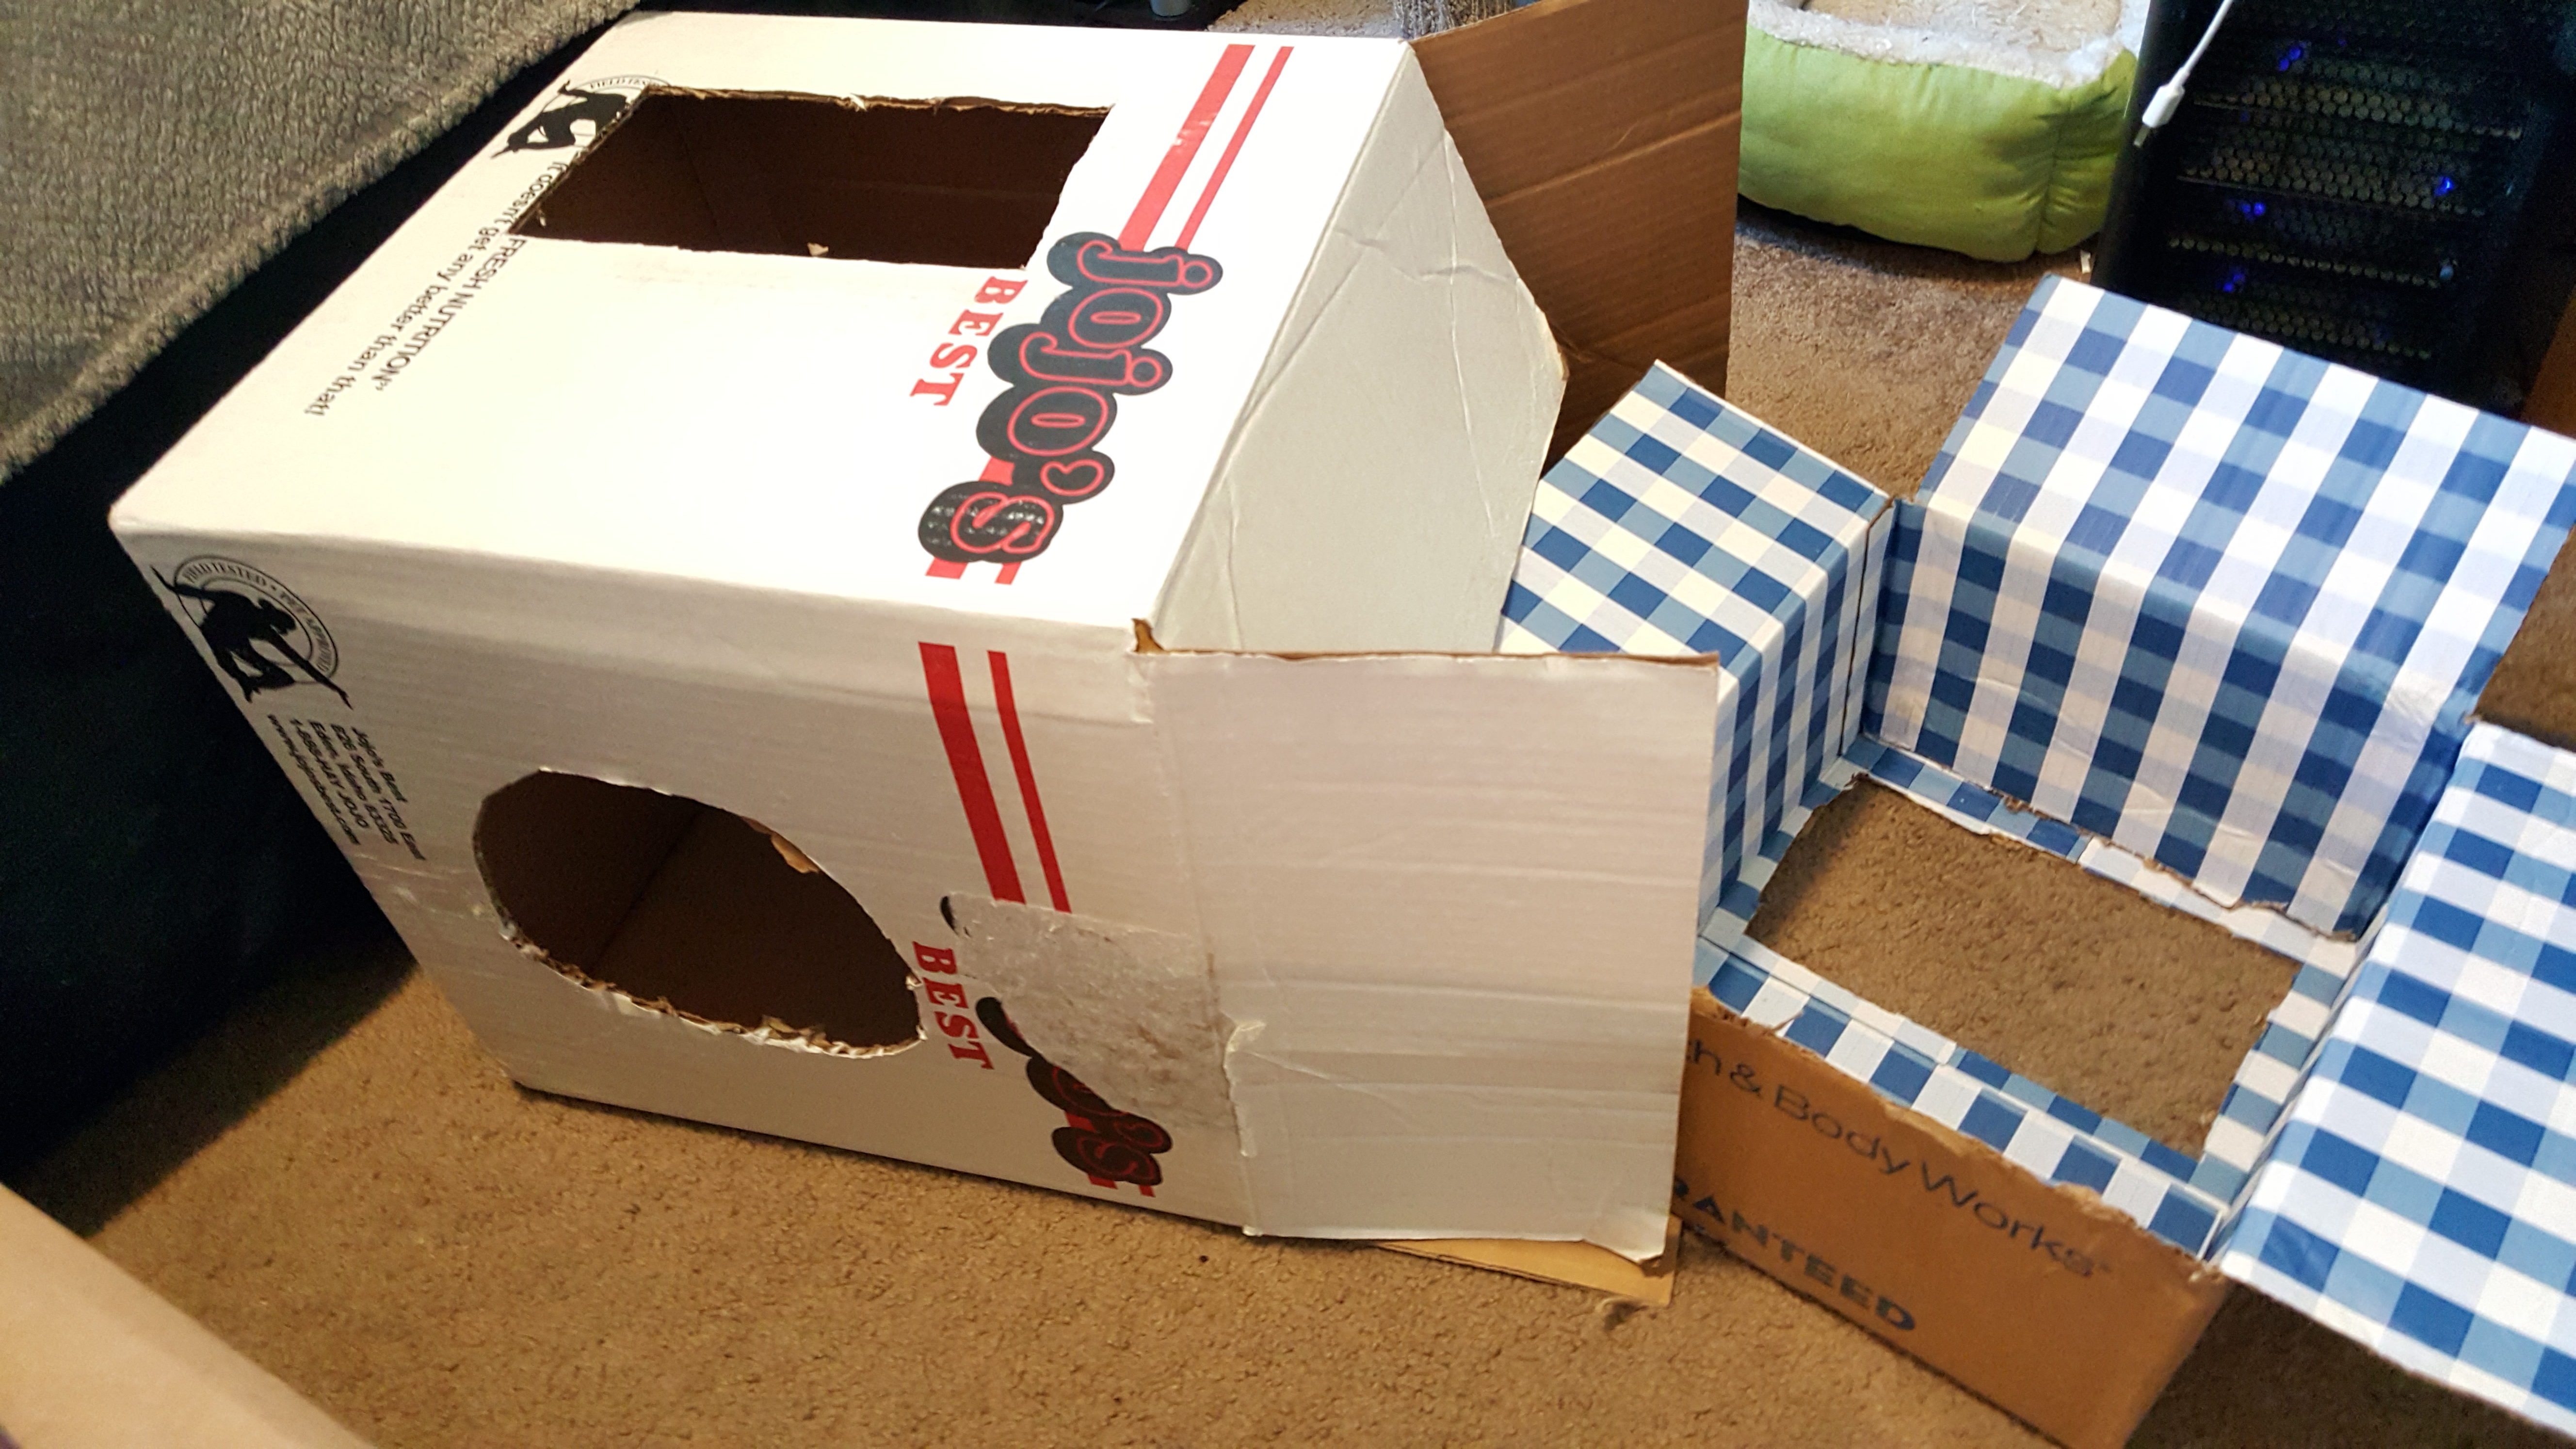
If you have a box inside of another, cut a hole in the inner box wherever the outer box has one.
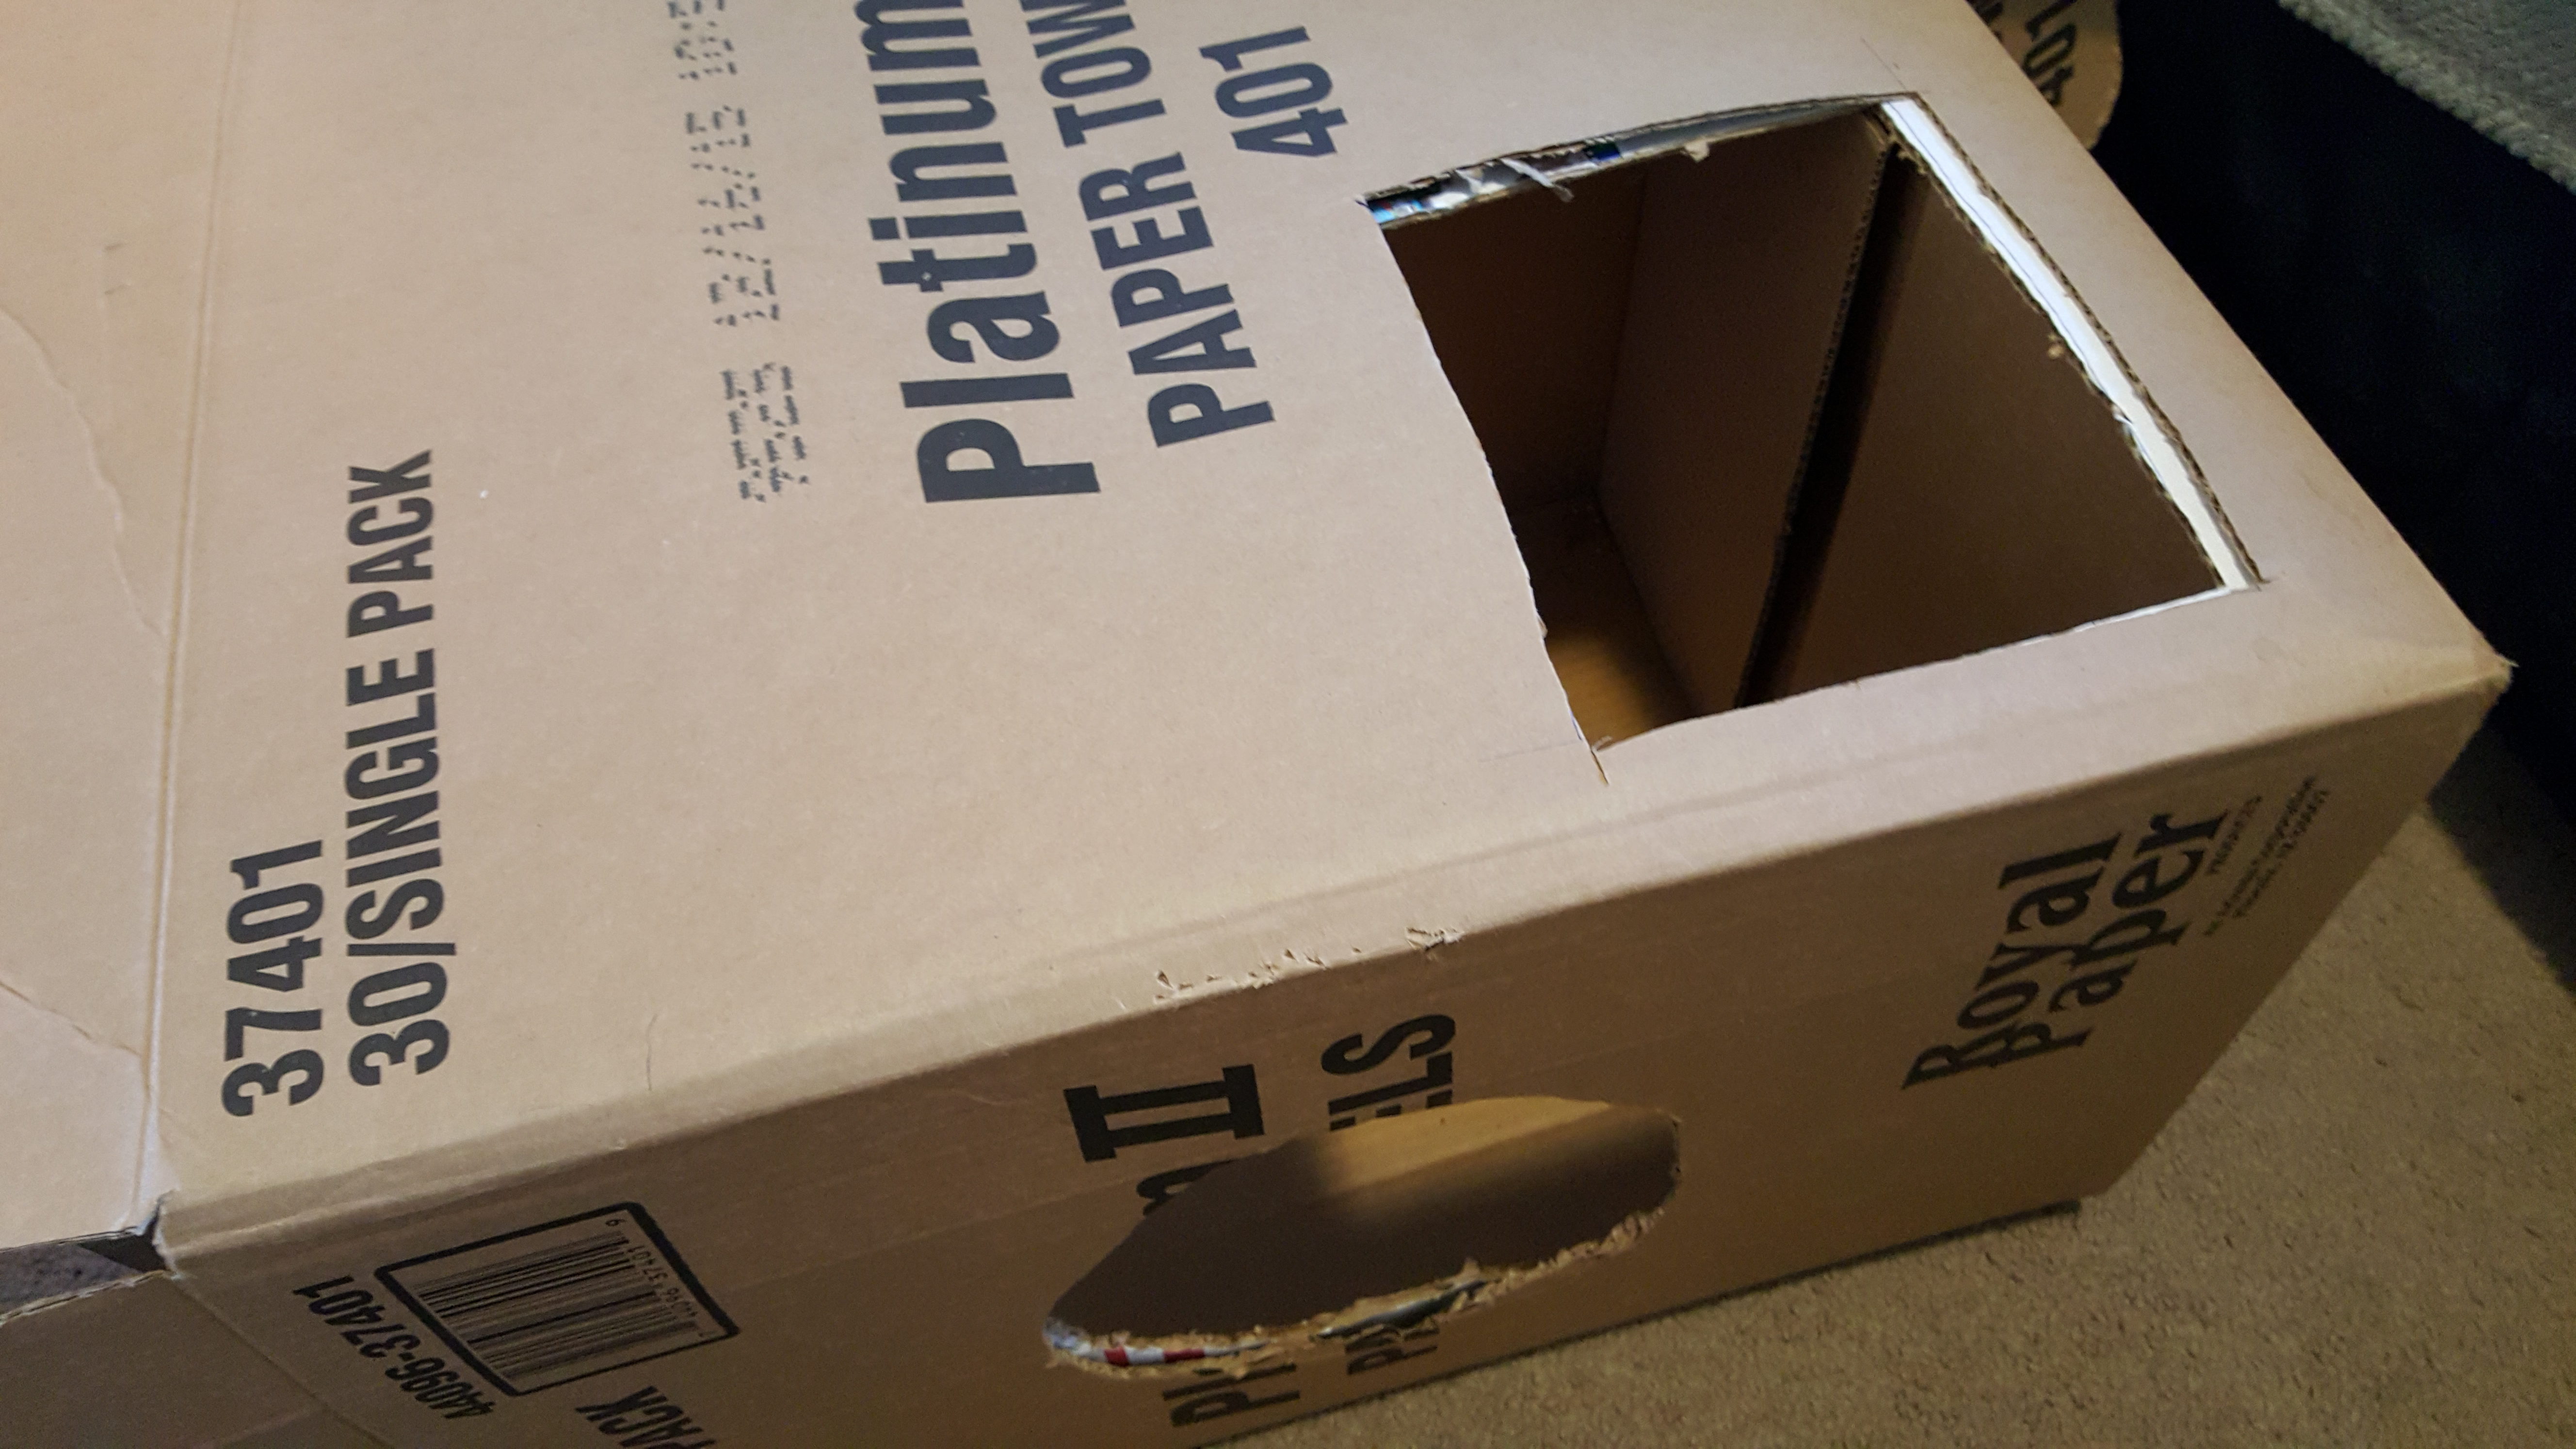 You can also cut little windows in some of the boxes to personalize your castle. As you can see from my messy work here, they don’t need to be perfect.
Step 3:
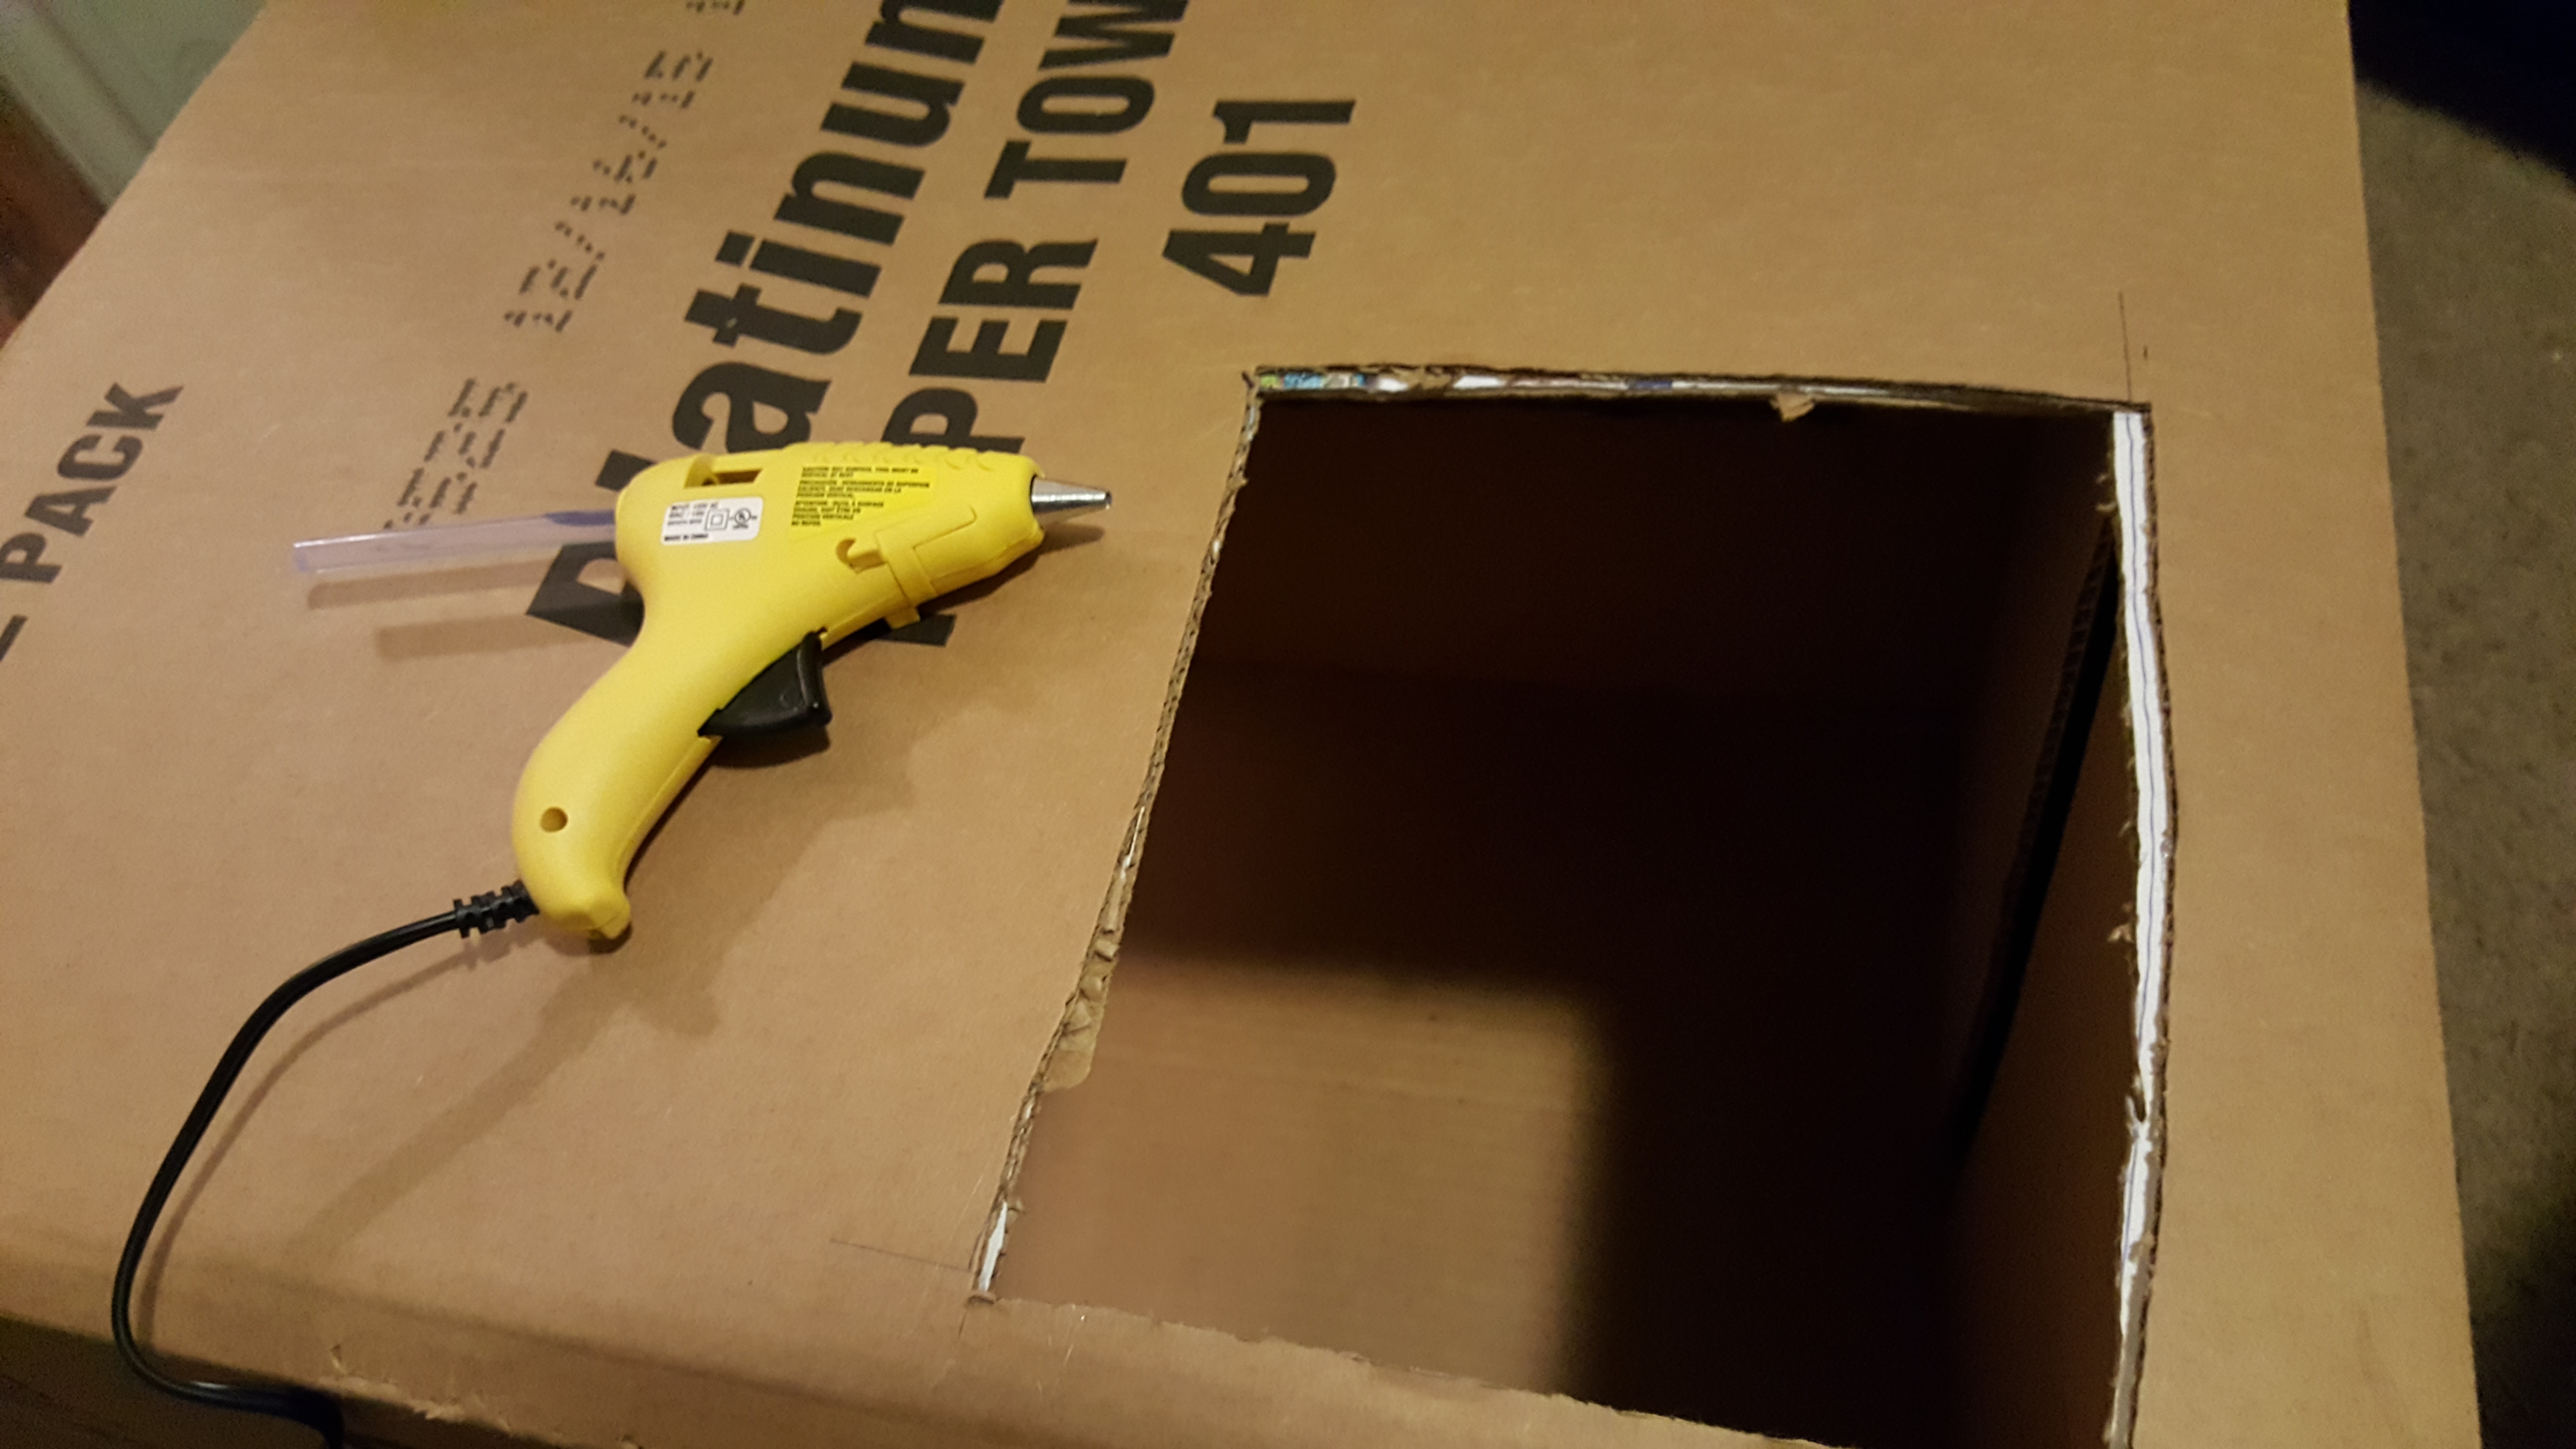
Use the hot glue gun to glue the matching top and side holes together. Squeeze a line of glue around the edges of the holes and the edges of the boxes to help them stay together. Hold the boxes together for around 10 seconds to make them really stick.
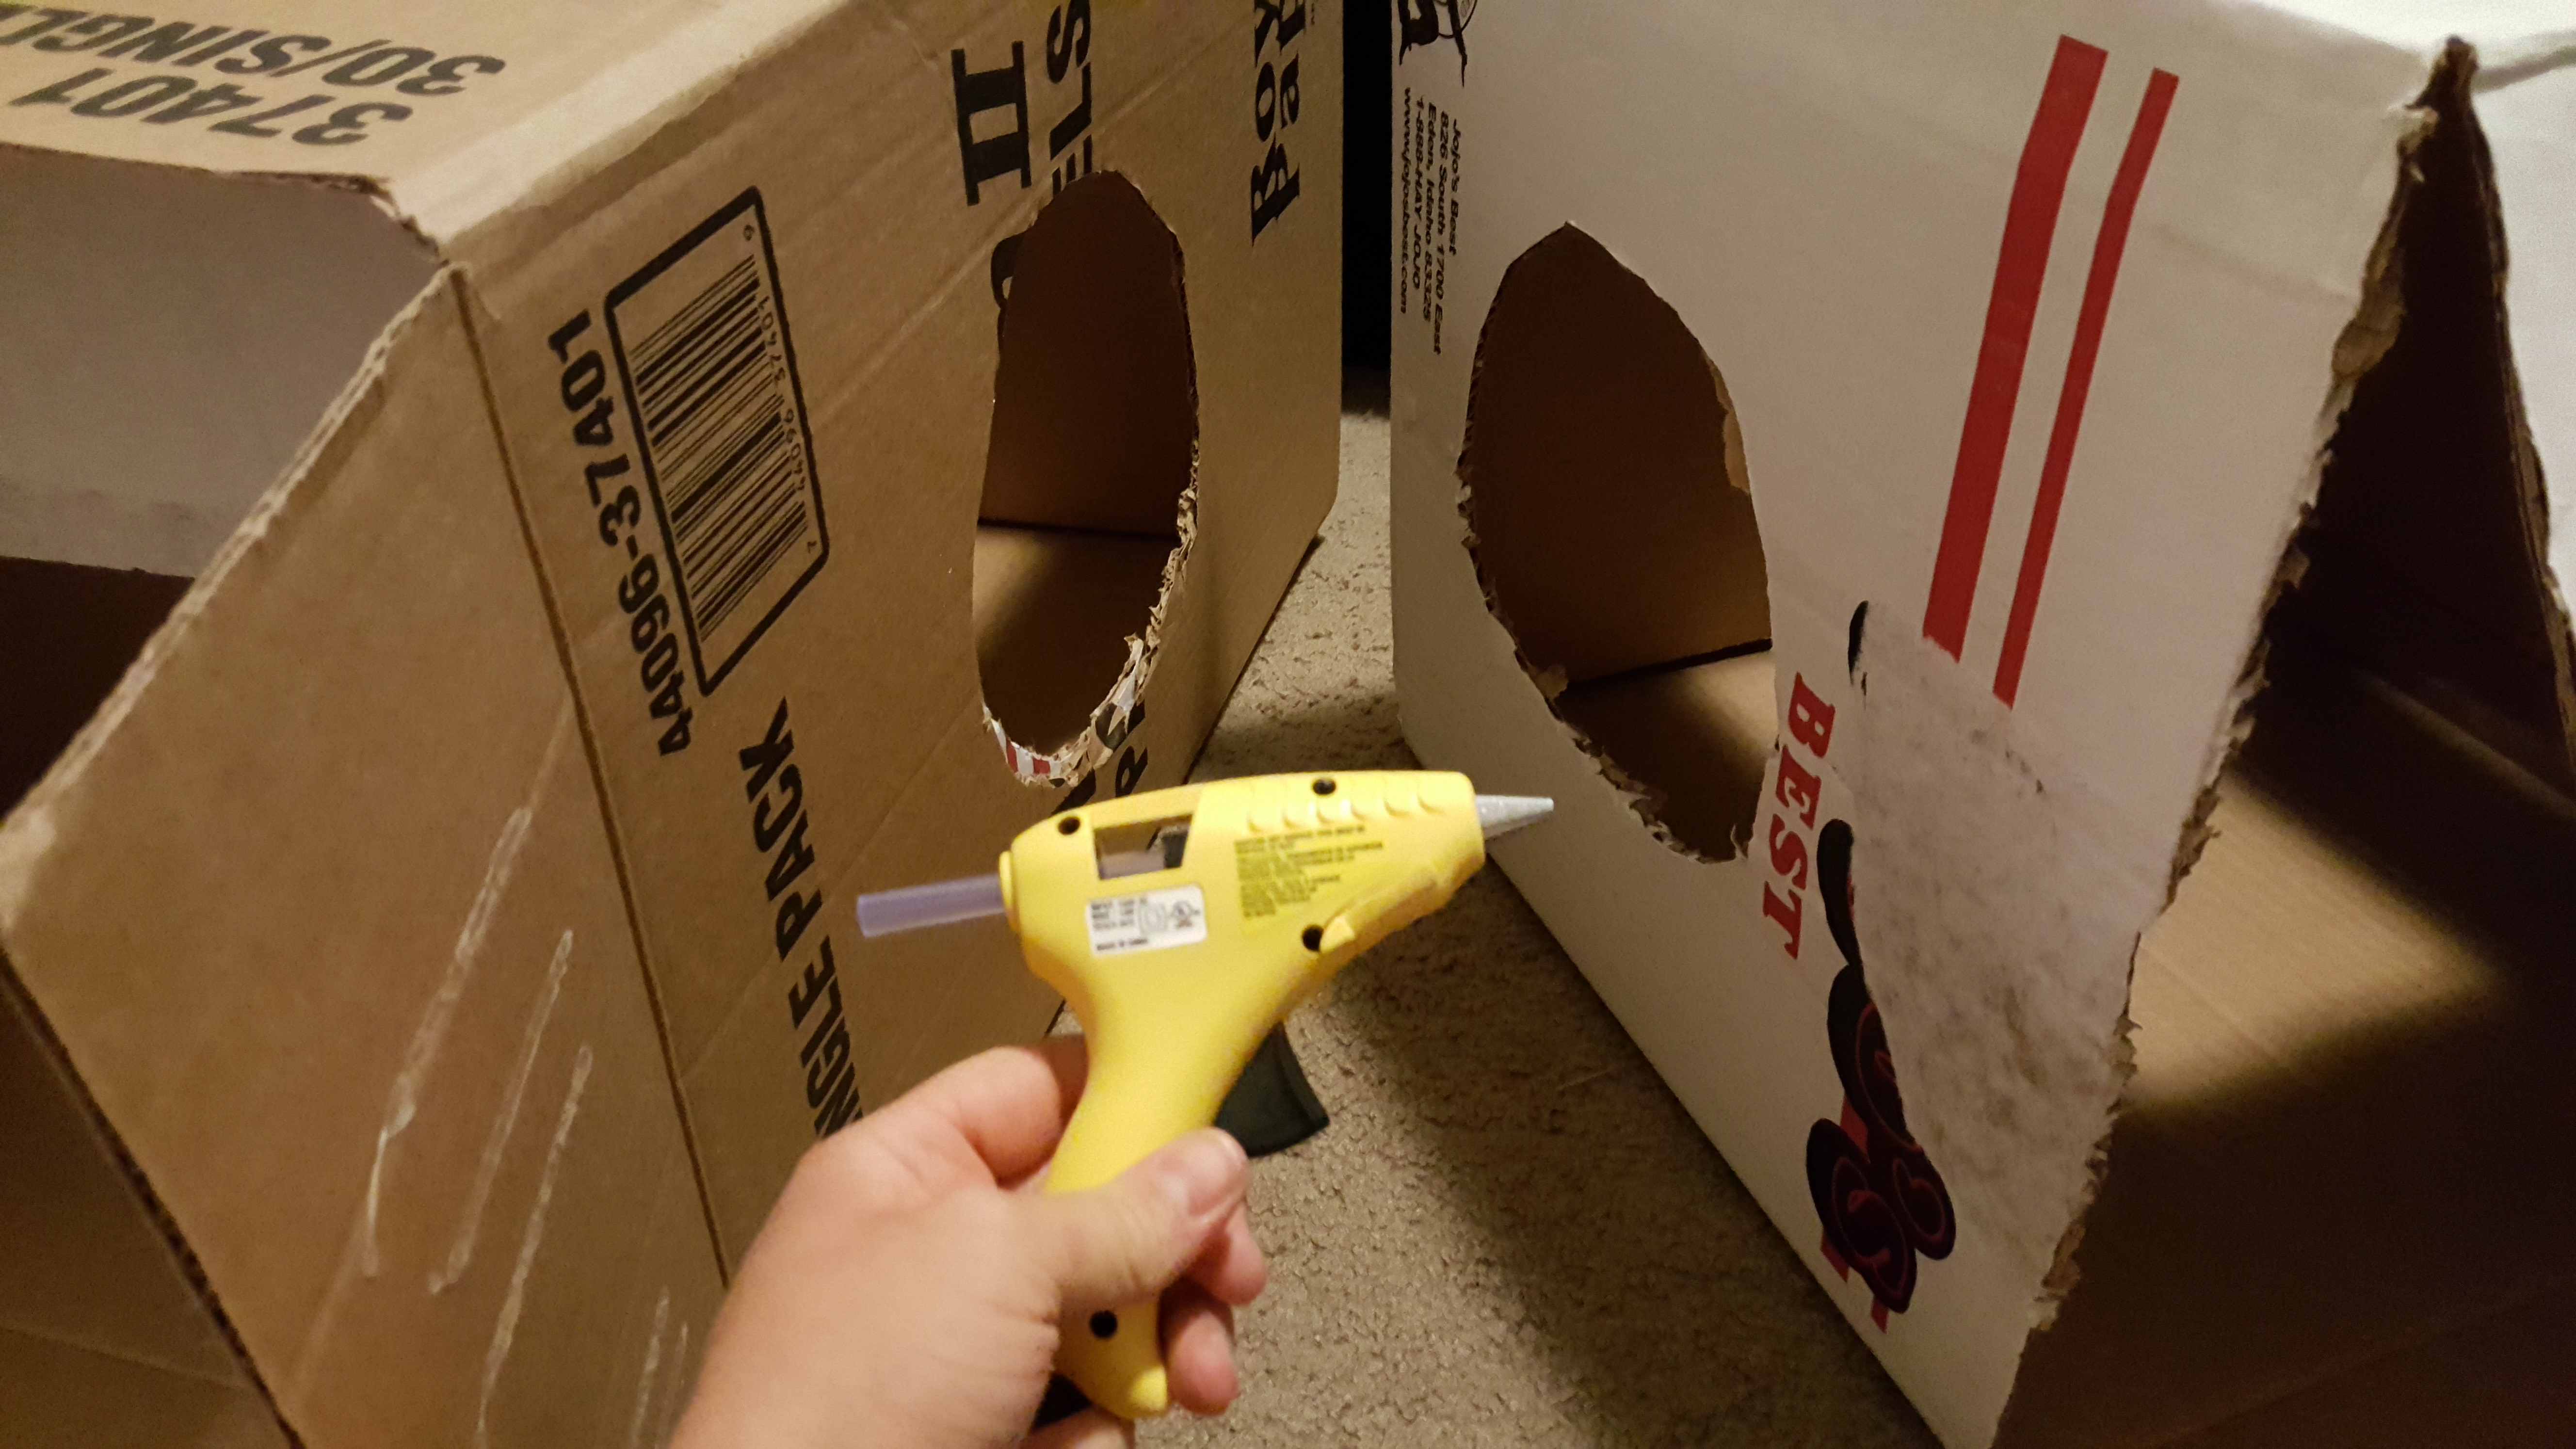
Make sure to also glue the inside edges of the inner and outer box holes together.
Step Four:
This step is more optional than the others and depends on how well your boxes and holes stay together with the glue. Once you’ve glued everything together, use duct tape to smooth the edges of the holes and to hold any boxes together that need more support. Now you have your completed castle!
Step Five:
Let your pets check it out! Maggie was more than happy to be my tester. After I finished, she kept running in and out of the castle and even stuck her paw out of a window to playfully swat at Mochi!
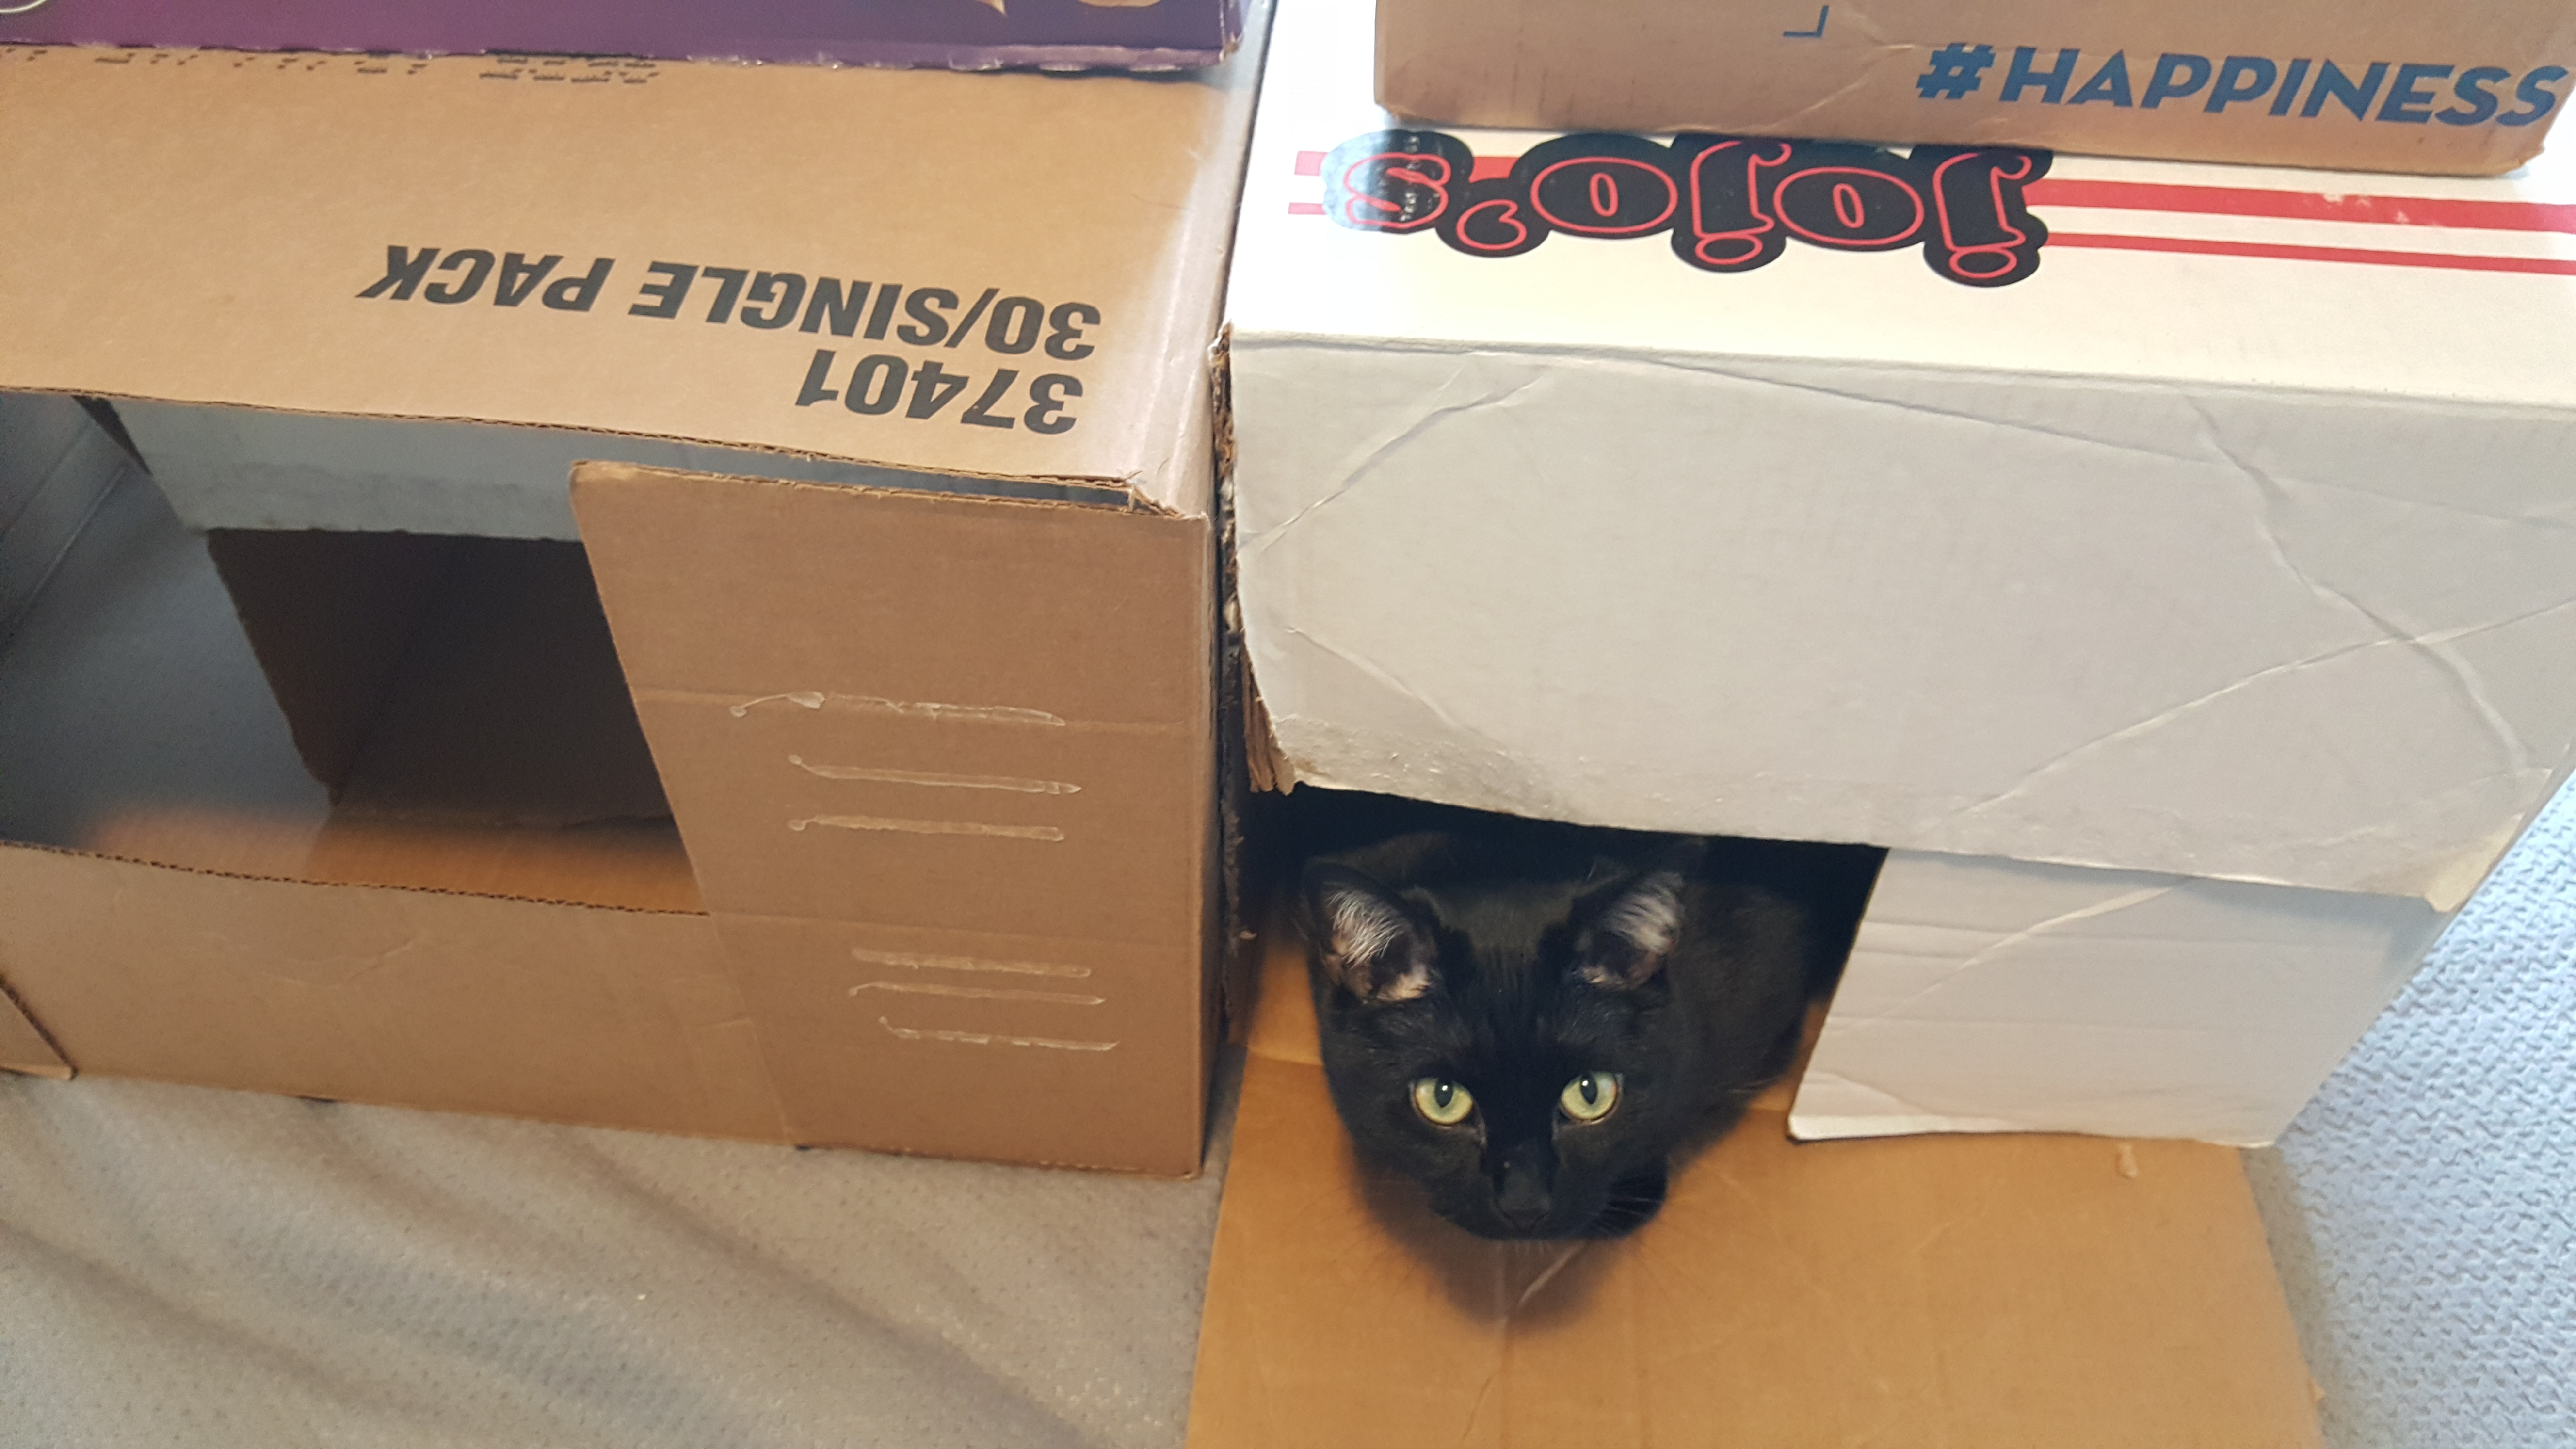
I can safely say that this castle was a big hit for Maggie. Just remember that if you have a bunny, they take time to get used to new things (as was the case with Mochi) so there’s no need to get discouraged if your bun doesn’t seem to like it. You can start encouraging them to go in by hiding treats inside.
My favorite part of this project was how easy and affordable it was to create. It took me under two hours to do everything and only cost me the amount for the glue gun and duct tape because I didn’t already have them. I also loved being able to make this out of boxes that I was just going to get rid of anyway!
Now excuse me while I grab some popcorn and watch my little buddies go to town on their new playground!
Have you made any DIY projects for your pets using boxes? Let us know below!